 |
| The handles come in several different colors |
Here is a step by step tutorial of the coin purse we did on
"Fresh Living" KUTV Channel 2 with Debbie and Casey. The template is included with the purchase of the handles, or you can draw out your own. Our handles for this tutorial are the 3 inch round. I have to admit once you start these you will end up making several. Really easy!! If you wish to order the handles please call the shop 1- 801-495-4290. We are in the process of adding them to the website. The handles come in Peach, Purple, White, Black, Red, Hot Pink, Light Pink, Turquoise, Bright Green, and Bright Blue. They come with full instructions and the template to make them.
First you will need to choose a fabric for the outside of your bag, and one for the lining. You will also need a light weight fusible interfacing. I used Pellon SF 101.
opps! I had cut mine out and forgot to take a picture, but that is the backside of my fabric with my interfacing on it. Using the template transfer all your markings to your front and lining.
Now stitch using a 1/4 inch seam from mark to mark using a backstitch to reinforce the sides. Repeat for the lining pieces. Clip around your curves, and then cut out the corners as marked on pattern piece.
Bring side seam and bottom seam together, stitch across using a 1/4 inch seam. This will make your bag have a nice flat bottom. Repeat for a 4 corners.
Now turn your outside to the right side, and place inside of your lining so right sides are together. Making sure to finger press and line up seams and top edges.
Sew around the top edge of the bag using 1/4 inch seam, leave about a 2 inch opening so that you can turn it. Clip all the curved edges so that your bag lays nicely.
Now turn right side out and finger press so that the bag is nice and straight. You may wish to whipstitch your opening closed or use a dab of glue.
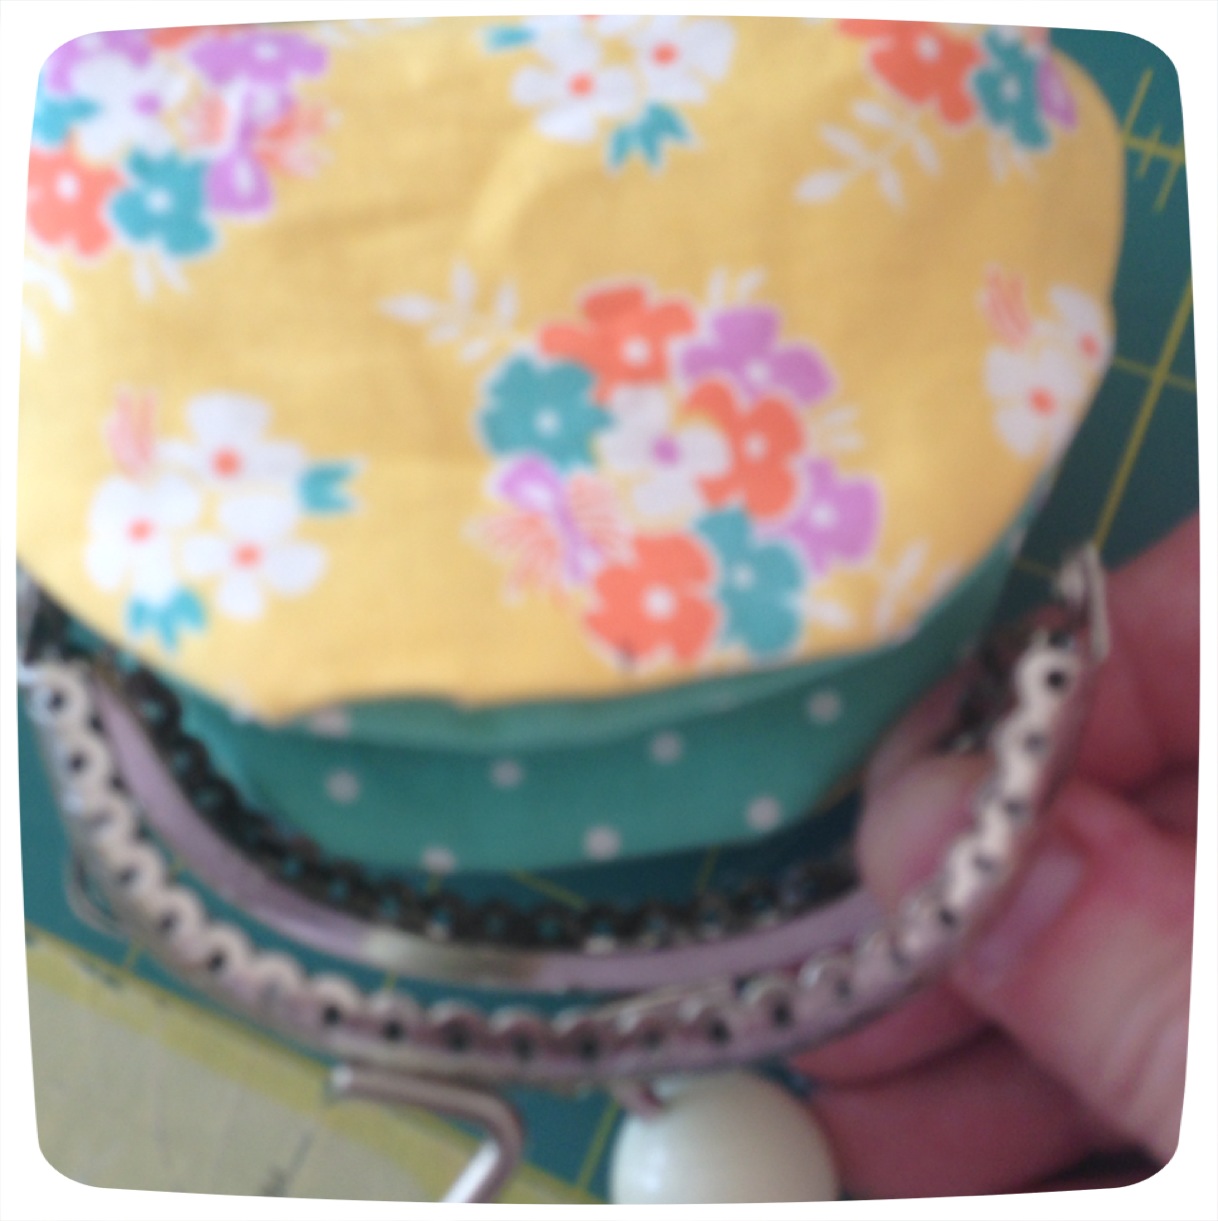
Using a fabric glue or E6000 run a line of glue on the inside of your handles. Line up your center markings with the center of the clasp and begin working the edge of your bag into the handles.
As you work in the bag into the handles use a stylus or a sharp object (I used a skewer) to make sure you get it all the way in.
When the glue is dry you may wish to use a heavyweight thread and reinforce your handle by stitching it in. This is optional. The handle does have holes in it which make it easy to stitch through. Now comes the fun part. Be as creative as you like add embellishments, ribbon, buttons or whatever and
Enjoy!
Nadine


1 comment:
will you be getting anymore of the large purses in? Hope some are left by P day!
Post a Comment