Friday, December 31, 2010

Happy New Year!!


Happy New Year!  I just want to tell all of you "Thank-You"   We couldn't have done it without you!  I truly have the bestest customers and friends in the entire world.  I hope the New Year brings you lots of finished projects, and all your wishes & dreams come true.  We have lots of fun and exciting things planned for the upcoming year so stay tuned!
Hugs!
Nadine:)

Wednesday, December 29, 2010

Friend and comments!!

We are so close to having 1000 followers on oue blog, but we need your help!  Off to the side of our blog become a Google Friend Connect. and follow us from there.  Also follow us on Facebook and help us reach 2000 fans. As soon as we reach our goals I have got a ton of things I will be giving away...., Fat quarter bundles, jelly rolls, books and oh so much more!!  So telll your friends and help us reach this!
Thanks, you guys are the best!
Nadine

Tuesday, December 28, 2010

the perfect button tutorial

If you have ever been on the search for the perfect button here is the answer.  Make your own!!


what you need
Scrap of fabric.  size depends of button size but 5x5 is plenty.
button kit.  these are sold at the shop behind the cutting table.

Cut your fabric 1 inch bigger than your button.  There should be 1/2 inch around the button when laid on the fabric.  There is a pattern on the back of the packages.

place a small amount of hot glue on the bottom of the button.  This will help hold the fabric. 


Pull the fabric around making sure it is smooth on the top and push the raw edges into the hot glue.

push the back of the button kit into the top piece.


You are done.  SO SIMPLE.

Use anywhere you would use a button.


Monday, December 27, 2010

Have you heard...., Girls Night out!

Have you heard about this? A girls night out on Dec. 29.  It is sure to be a fun, creative night.  That you are going to want to attend. (I know I want to go!)  Hosted by these amazing bloggers Blue Cricket Designs, Somewhat Simple, Crazy Domestic and held here The Chocolate with a name like that who wouldn't want to attend?  I spend way too much time on their blogs drooling, I mean admiring and dreaming!  They are uber creative!!  Hop over to their blogs and tell them Material Girls sent you!
Toodles,
Nadine

Sunday, December 26, 2010

Sizzix Club, sign me up!


Okay, if you haven't heard of the Big Shot by Sizzix, it is my favoritest die cutting machine out there. Trust me, I know because I think I own every cutting machine on the market. They have the cutest dies and we have come up with some great projects for the new year. We have decided to start a "Sizzix Club" Thats right a special club, FUN! You will be able to purchase a machine (discounted of course),get the newest dies, each month we will have a new project designed by one of our very own Material Girls, you will also have access to all of Material Girls dies all for becoming a member of our exclusive club. We will be sharing more details on our upcoming class schedule which is coming soon! You are going to love this!!!
Stay tuned for more details!
Nadine

Saturday, December 25, 2010

Blog a Palooza!

Quilt Dad
How fun does this sound? Bloggers Block-a-Palooza A quilt along with 18 bloggers each making 2 blocks per week. A great kick off to Spring! They will be using the new line Sunkissed by Sweetwater. I know I will be joining in on this fun! What a great way to start the new year! Click the picture above for more details. I am so excited, I love the Sunkissed line and I love these bloggers!
Nadine

Friday, December 24, 2010

Merry Christmas to you

I just want to take a moment to tell all of you, my friends and customers "Merry Christmas" As 2010 comes to a close I look back on the year and I am so very grateful for my awesome staff, wonderful friends, and incredible customers. I am so blessed to be in this awesome industry that brings out love, charity, and friendships. I really do have the perfect job!
May your Holidays be Merry and your stockings stuffed well!
Nadine

Tuesday, December 21, 2010

Jelly roll frame tutorial

This is an easy no sew project. You can use it as a picture frame or as a wreath.


Supplies
Embroidery hoop (a 3 inch ring was used for the tutorial)
1 jelly roll (5 strips were used to cover the 3 inch ring)
8 inches of ribbon
hot glue gun
embellishment items


cut the jelly roll strips into 6 inch pieces.
fold the strips in half length wise and tie around hoop. I mixed the patterns as I tied.
scrunch together as tight as you want
When you are near the screw, tie the fabric and slide under the screw, then fill in the rest of the hoop.
glue your 8 inch ribbon in a loop on the back.
embellish as you please or leave plain. If you want to add a picture just hot glue it to the back.

Monday, December 20, 2010

I really need another week!

Wow, I am not sure if any of you feel like this but, YIKES, SHEESH, HOLY CRAP! I am so behind!!!! I am kind of a fly by the seat of my pants kind of girl anyway, but this is ridiculous. I have given myself a stern talking to! but I am not sure I listened. I am like a crazy woman racing from store to store trying to find gifts, stocking stuffers, and what not! We were late getting our tree up because we lost the middle of it (really who loses part of their tree)
Well, off to Target! that should be fun!
Happy Holidays!
Nadine

! In case your thinking it I will say it "TRAINWRECK" that describes me to a tee right now!
When I saw this card I knew I had to post a picture of it!!

Thursday, December 16, 2010

Click to play this Smilebox invite
Create your own invite - Powered by Smilebox
Make your own invite

Monday, December 13, 2010

E-Book Envelope pattern

Supplies needed
2 fat quarters
6 inches of ribbon
1 button

1- Cut 2 9x6 pieces from each fat quarter.  One set will be your outside the other will be your lining.
2- Sew the pieces right sides together with 1/4 inch seams.  On the lining leave a 2 inch opening in the bottom for turning.  Trim the corners so when the envelope is turned the corners will turn neatly.

3-attach the ribbon to the middle of the outside back piece.  The ribbon should make a loop for go around the button

4-turn the outside envelope right side out and slide into the lining so Right sides are together.  Line up the side seams.  make sure your button loop is pushed down in.

5-attach lining and outer envelope around the top with 1/4 seam
6-Turn through the hole in the lining.  push the corners out
7-sew the hole in the lining piece and push down into the envelope
8- iron and sew 1/4 inch finish seam around the top
9 - place button 2 1/2 inches from the top in the center of the front.

10-Read and enjoy!!!


I used a Nook for my model.  The original sized Kindle is the same size as this.  If you have larger e reader or any other device you would like to make an envelope for just measure the device and add an inch to both width and height.

Sunday, December 12, 2010

Happy Zombie Gnomes and Holday Happy!

Try as I might I could not get this picture turned right!


 Okay, I loooove this quilt.  Ashley J. one of the MGQ girls made this and it is so cute.  It is made with Lecien Fabric designed by Happy Zombie" (monica) one of my all time favorite bloggers.  I think we did her proud.  Then gnomes couldn't be cuter.  Her blog is funny, inspirational, and oh so much fun!!  We have a few kits in the shop left so give us a call soon.  We are also supplying the kits for her quilt that is featured in Quilts and More.  Call the shop for the kit!!  Hop over to Monica's blog and tell her about our cute quilt!
Nadine


Tuesday, December 7, 2010

Easy Peasy Tie pattern

This tie can be made in minutes and has only 10 steps.  The pattern is also adaptable to any size.  So if you have a last minute christmas party or want matching ties for pictures here is your 30 minute fix.

What you need
1 yard fabric(this gives you enough to cut with the grain, acros the grain or bias cut)
1/2 yard light weight interfacing--Stacy is recomended (this will be your pattern and interfacing)
2 inches of 1/4 ribbon (for tie holder on back side)
an old tie

1- on interfacing trace the old tie in two halves...big point half and small point half
2- add 1/4 inch to the pattern piece for seam allowance.  I measured 1/4 inch out every couple of inches and then used my cutting ruler to match marks up and make the full pattern.  You can see my tracing in black and my 1/4 inch addition in orange

3- cut out 2 pieces of each half along with the interfacing

4- iron interfacing to wrong side of one piece of each half
5- on the back piece of big point measure 6 inches up and attach ribbon.

6- fold both  narrow ends of  the big point piece down 1/4 inch to the wrong sides.  This will be your finished edge of the seam.


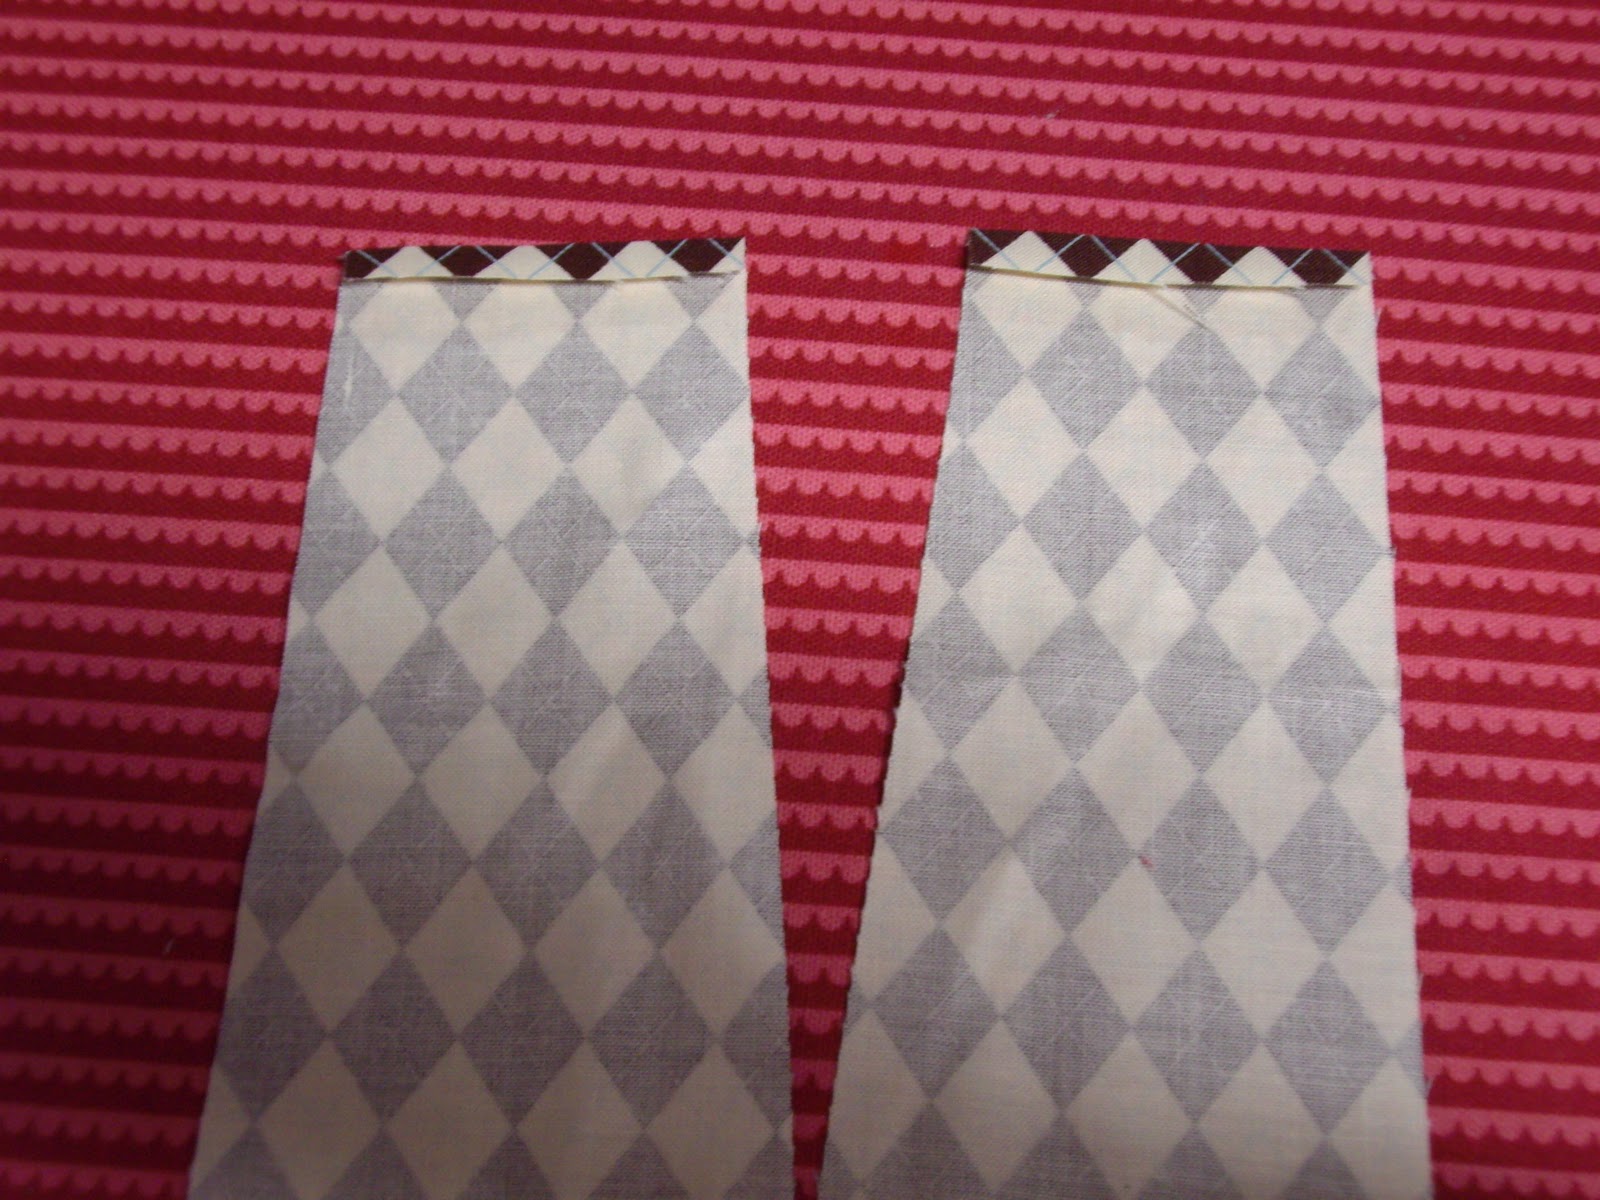
7- sew big halves right sides together leaving the narrown end open.  Turn right side out pushing out points.
8 - sew little halves right sides together leaving the narrow end open.  turn right side out pushing out the points.
9- slide small half into big half.  egde stitch closed.  This stitching will be hidden by the collar.

10 - iron

Monday, December 6, 2010

Amy Butler Soul Blossoms arrives

Oh, you are going to love this!!  We received Amy Butlers new line "Soul Blossoms" today, and it is fantabulous!!  I can't even decide which piece to cut first!!  We always order the entire line so come in and get yours today, better hurry Shelby is eyeballing it!
nadine

Sunday, December 5, 2010

A Christmas rhyme!

Day 6 has just begun,
To join in  our Holiday fun!
Sparkle, Glitter, & oh, so much more.
the minute you walk through Material Girls door!
A smile, a treat, a deal a day,
Better watch out it's time to play!
Hurry my friends and don't be late,
A sale like this just can't wait!

Nadine & her elves!
*for our special deal of the day, just give us a call 801-495-4290