


This is quick to make, easy to set up teepee that is great for inside or out. The inside bottom is about 3 feet by 3 feet, so lots of room to play.

WHAT YOU NEED
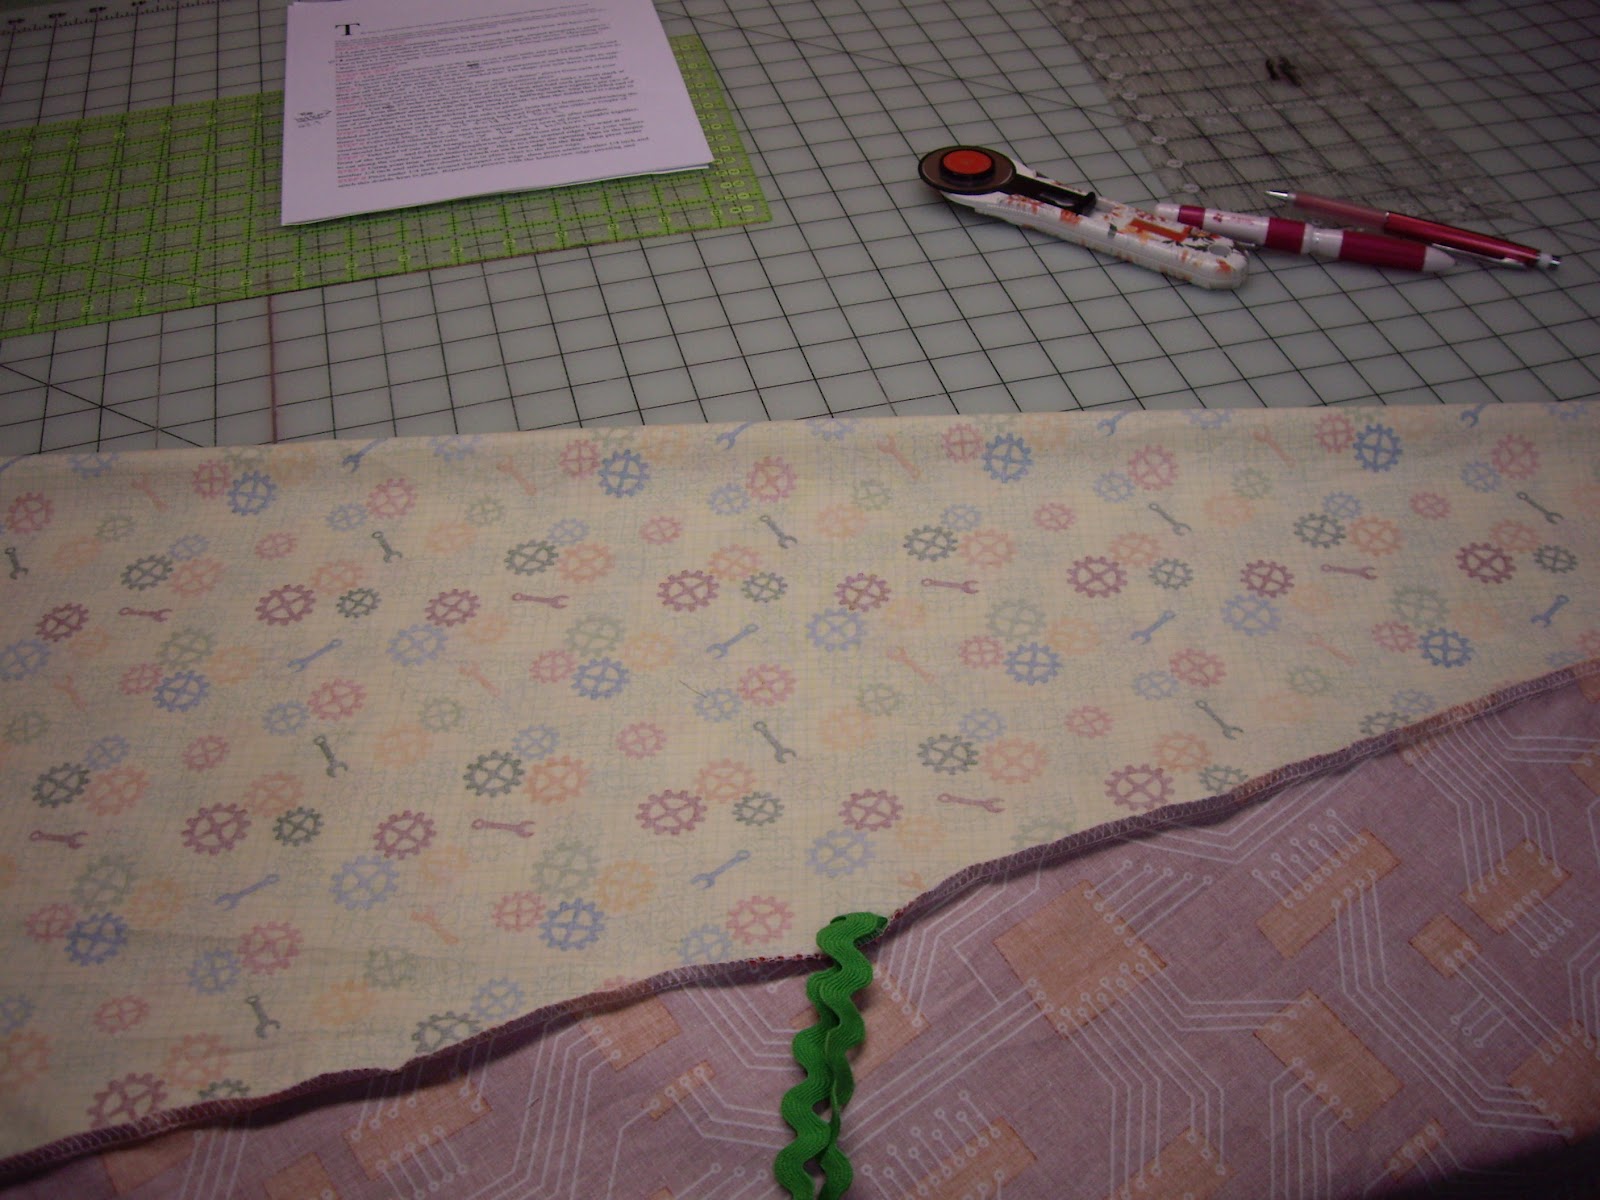
- 1.5 yards each of four contrasting fabrics, for the outside of the teepee (you will have some fabric left over for smaller projects) 6 yards total if you want all one fabric.
- 10 yards fairly sturdy ribbon or woven cotton tape (lovely, bright, striped grosgrain is perfect) l
Four 6 feet x 1 inch-diameter wooden dowels, available from hardware stores, 1 inch pvc pipe will also work.
Measuring tape l Ruler l Dressmaker’s chalk l Scissors l Bobble-headed pins l Sewing machine and thread l Needle and thread l Iron

STEP BY STEP
STEP 1 Lay one of your fabrics out on the floor or on a large table and use your tape, ruler and chalk to measure and draw a triangle that is 35.5 inches across the base and 54 high from base to apex. Then cut out the triangle with your scissors.

STEP 2 Draw a line across the top of the triangle where it measures 6 inches from side to side, then cut off the top of the triangle along the marked line. The shape you now have is a triangle with the top lopped off – a bit like a volcano.

STEP 3 Use this piece as a pattern to cut out three more “volcano” pieces from each of your colored fabrics – four pieces in all, including your original pattern piece.
STEP 4 Measure halfway down the side edges of all of the triangles and make a small mark at this point. Cut eight 27 inches lengths from your piece of ribbon and fold each piece in half crosswise. Trim the cut ends at an angle to prevent fraying. With right sides together, pin two of your triangles together along one side edge, matching your halfway marks. Slip the folded end of one of your ribbons in between the layers at the marked point, so that the folded end is caught in your seam and the loose ends are sticking out. Pin in place. Place the other 4 lengths about 3 inches from the bottom edge in the same way.


STEP 5 Allowing a 1/4 inch seam, stitch the sides together from top to bottom, sandwiching the folded end of the ribbon in the seam and reversing back and forth over the ribbon a couple of times for extra strength. I serged all of my raw edges so they didn't fray as time went on.

STEP 6 Following Steps 4 and 5, add the three remaining triangles, one after another, sandwiching a folded ribbon between each seam. When you’ve sewn all four triangles together, you should have a funnel-shaped tube.
STEP 7 Take hold of one of the triangles in the tube – made from the fabric you want at the front of the teepee – and fold it in half lengthwise, aligning the seamed edges. Use your scissors to cut along the centre line, from bottom to top – this is to create the opening flaps in the teepee.

STEP 8 Using your iron, press under 1/4 inch on each raw edge on the flaps, then press under another 1/4 inch and stitch this double hem in place close to the inner edge.
STEP 9 Press under 1/4 inch around the upper raw edge, then press under another 1/4 inch and stitch this double hem in place. Repeat this process with the bottom raw edge, pressing and stitching a double hem. Finally, overlap the very top of the teepee flaps together by about 1/2 inch and sew together, reversing a few times for strength.


STEP 10 Cut four 13 inch lengths of ribbon and trim one end on each into an angle. From the top, measure about a third of the way down the opening edge on each outer flap and mark with a pin. Measure a further 11 inch or so further down from this pin and mark with another pin. Sew a ribbon tie at each pin mark, turning under the raw edge of the ribbon before you sew.

STEP 11 Set up your dowels by tying the remaining length of ribbon around all four, about 12 inches from the top, securing all four pieces together. Pull out the bottom “legs” of the dowel to form the corners of a square, creating your teepee’s frame, then lay the teepee over the frame, aligning the seams along the dowels.
STEP 12 Tie the lining ribbons to each dowel on the inside, and adjust the legs until the fabric is neatly stretched over the frame.
Your teepee is now finished!!!!!


2 comments:
So that's why there is no more robot factory fabric in the store.......
Love the Tee Pee, the tutorial for this came right at the perfect time too. Was trying to think of something to make for my grandson while he is here on the farm hanging out with Nana and Pawpaw and his aunts.
Post a Comment